

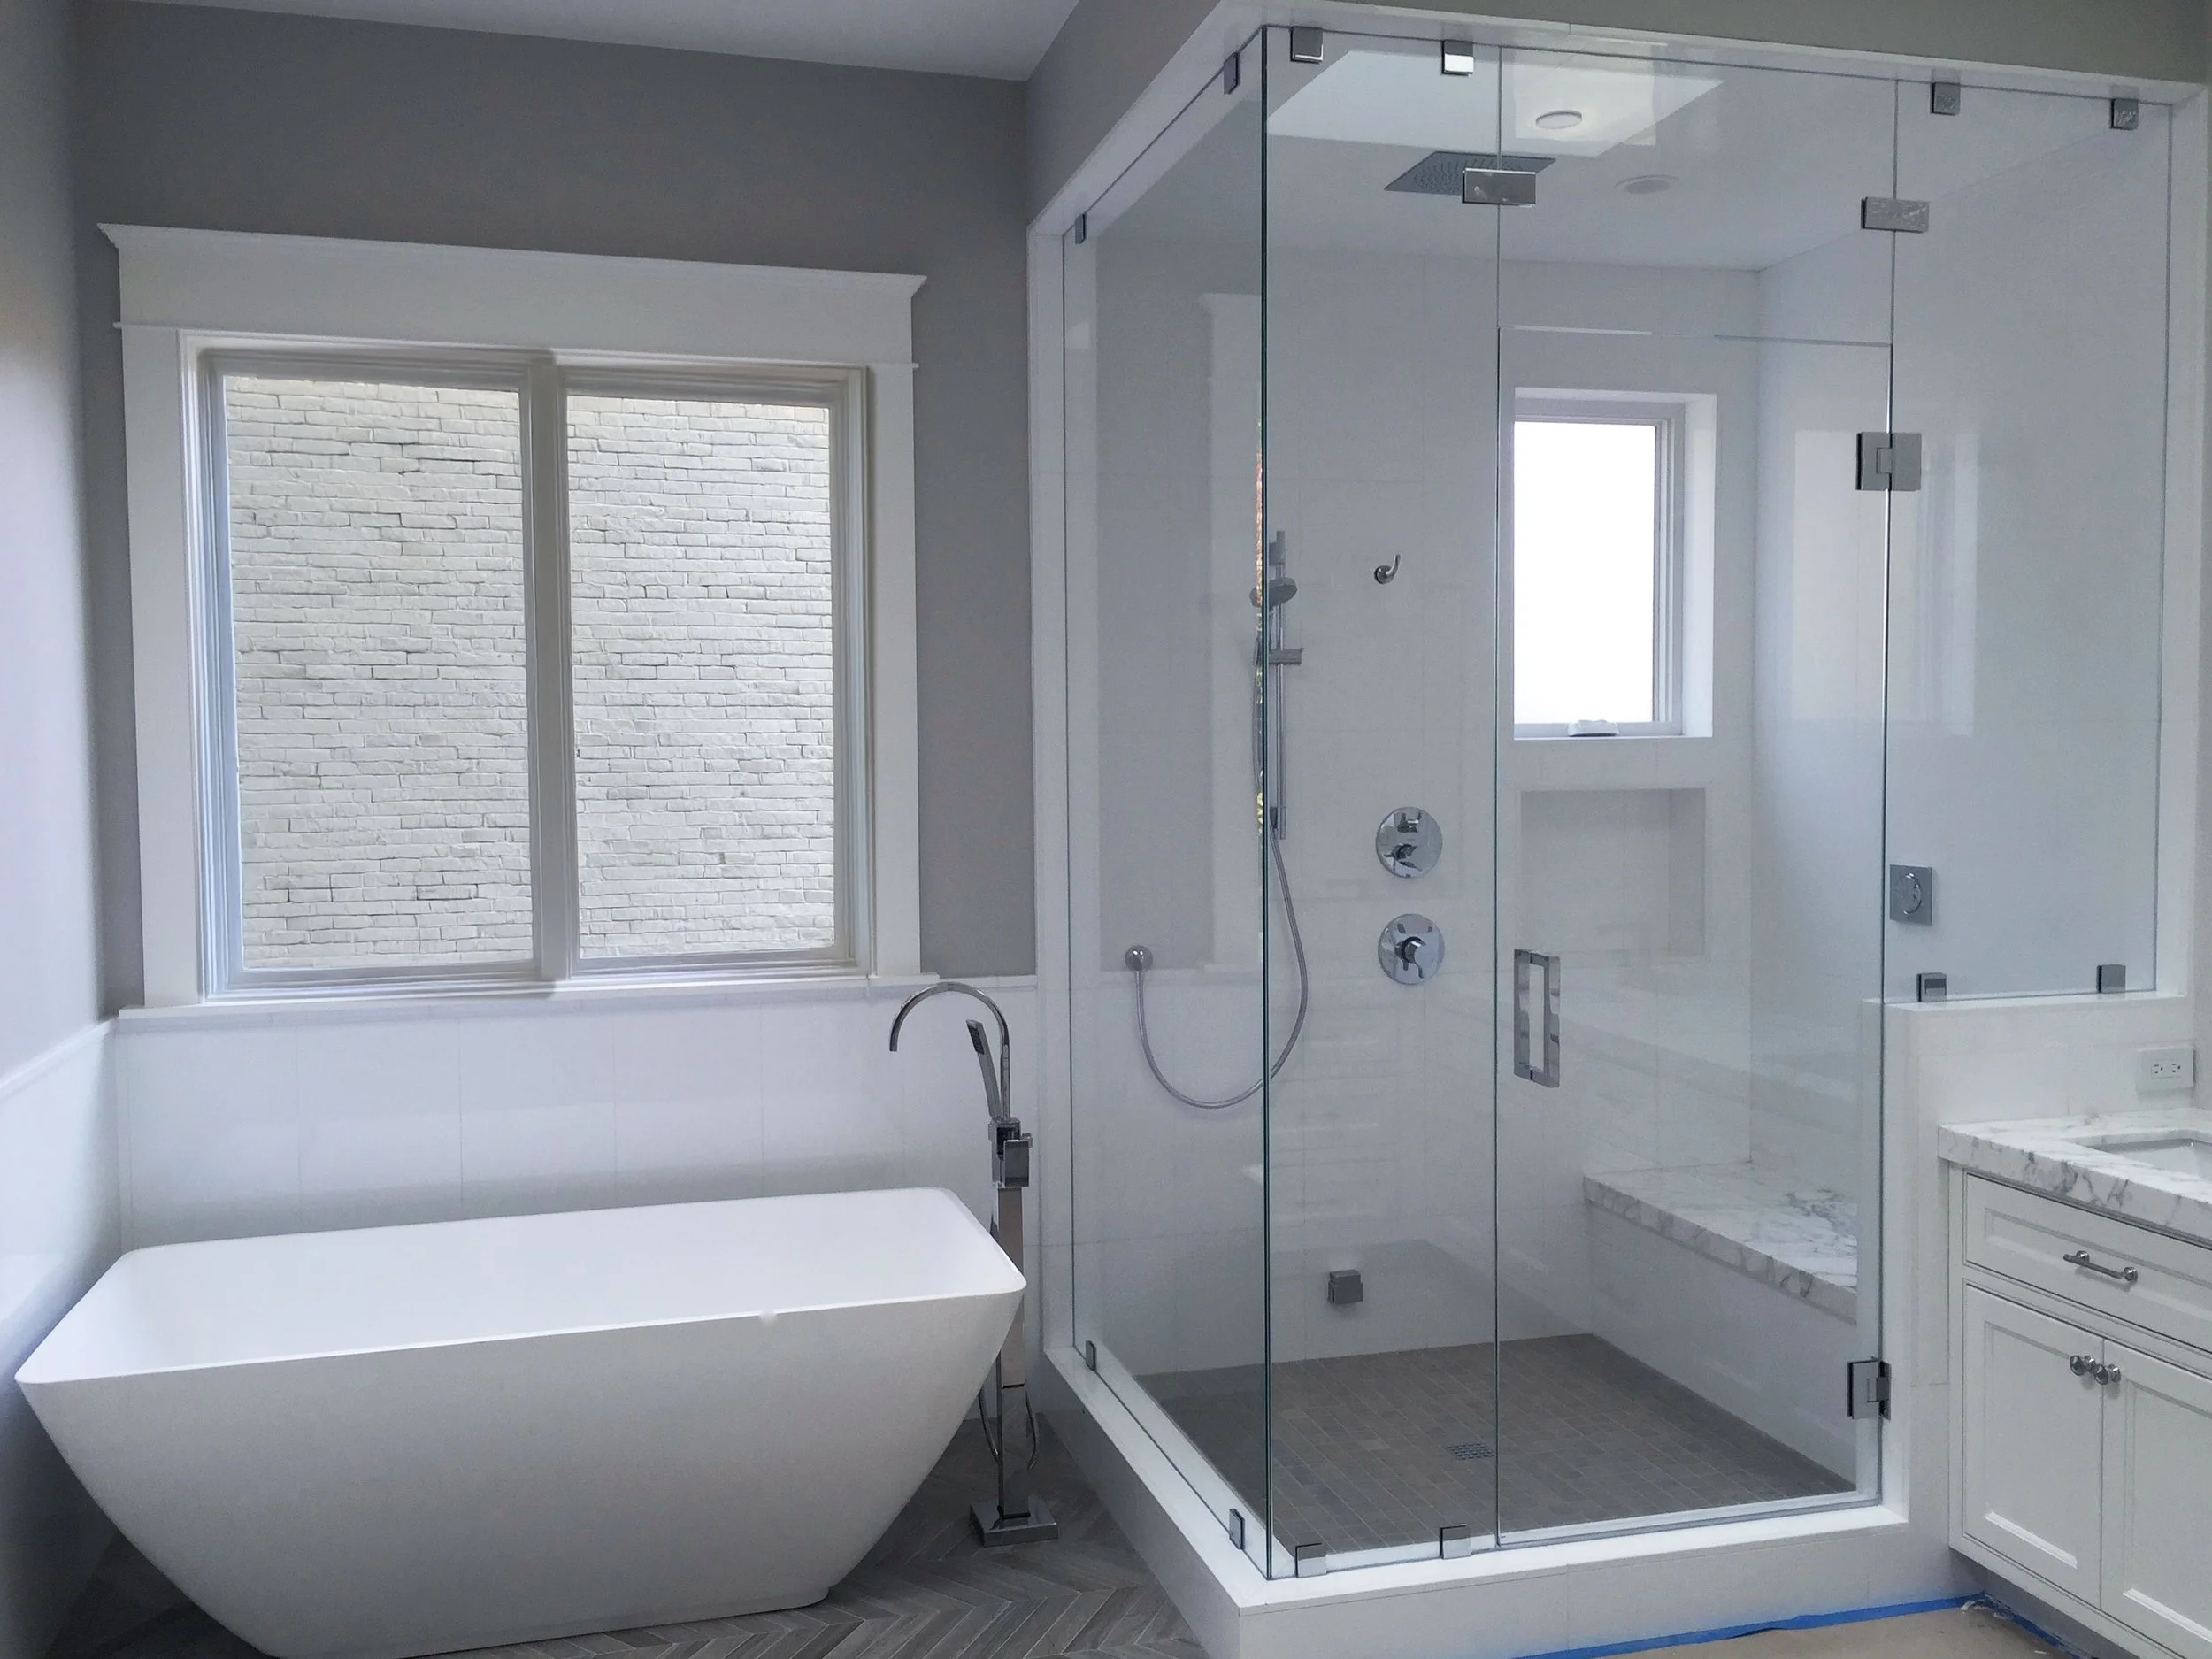
A Frameless Shower Planning Guide can help custom home builders, architects, and interior designers coordinate the glass, hardware, wall reinforcement, and finished dimensions before installation begins. High-end bathrooms leave little room for last-minute adjustments, especially when heavy glass must integrate with custom tile, stone, and carefully specified fixtures.
Unlike framed shower systems, frameless enclosures depend on precisely positioned hardware and properly reinforced walls to support the glass. Planning these details early can help prevent fabrication problems, unnecessary site modifications, installation delays, and callbacks while ensuring the finished enclosure complements the overall bathroom design.
Whether you are designing a residential master bathroom or a multi-unit luxury development, the best time to plan the glass is before the walls are closed and well before final installation. The following considerations can help your team coordinate the enclosure from initial glass specifications through final measurement and fabrication.
1. Specify the Right Glass for the Design
The glass specification establishes several of the requirements that follow, including panel weight, hardware selection, and structural support. Choosing the appropriate glass early also helps the enclosure complement the overall design instead of becoming an afterthought.
Glass Thickness and Weight
Frameless shower enclosures commonly use tempered safety glass in 3/8-inch or 1/2-inch thicknesses. The appropriate thickness depends on the enclosure configuration, panel dimensions, door size, and hardware requirements.
3/8-inch glass is commonly used for many custom frameless shower doors and stationary panels. It provides the clean, substantial appearance expected from a frameless enclosure while keeping panel weight manageable for many residential configurations.
1/2-inch glass may be appropriate for larger panels, oversized doors, or designs where additional rigidity is desired. Because thicker glass is also heavier, the additional weight needs to be considered when planning hinges, mounting locations, and wall reinforcement.
Glass thickness should therefore be treated as part of the complete enclosure design rather than as an isolated aesthetic choice.
Clear vs. Low-Iron Glass
Standard clear glass naturally contains small amounts of iron that can produce a subtle green tint, especially along the edges of thicker panels. That tint may be more noticeable when the enclosure surrounds light-colored stone, white tile, or other finishes where accurate color representation matters.
Low-iron glass reduces this green appearance and provides greater visual clarity. It can be particularly appropriate for luxury bathrooms where the enclosure is intended to showcase detailed tilework, natural stone, or carefully selected finishes.
Discussing the glass type early gives the design team an opportunity to balance appearance, performance, and project budget before fabrication begins.
2. Plan Wall Reinforcement Before Framing
A frameless enclosure places significant loads on the areas where hinges, clips, and other hardware attach. That makes wall reinforcement one of the most important planning considerations for a successful installation.
Identify Every Hardware Attachment Point
Before framing begins, determine where the shower door and fixed panels will be positioned. Hardware locations should be coordinated with the enclosure design so the framing team knows where reinforcement will be needed.
This includes door hinges, heavy-duty clips, and other mounting points that transfer the weight of the glass into the surrounding structure. Larger or heavier configurations may require additional structural consideration.
Waiting until after the walls are finished to determine these locations can make reinforcement more difficult and may require unnecessary opening or modification of finished surfaces.
Install Adequate In-Wall Blocking
Solid wood blocking or other appropriate structural reinforcement should be installed behind planned hardware attachment points before the walls are closed. The exact reinforcement requirements should be confirmed with the glass professional and, when necessary, the project's structural team.
The key point is that heavy shower hardware should not depend on drywall, backer board, or tile alone for support. These finished materials form the visible wall surface, but they are not a substitute for properly positioned structural backing.
Early coordination allows the framing and glass teams to work from the same enclosure plan. It also gives the tile and waterproofing trades a clear understanding of where hardware will eventually be installed.
Account for the Glass Load
Glass weight increases as panel dimensions and thickness increase. A large fixed panel or oversized door can therefore place substantially more load on its mounting points than a smaller enclosure.
This is why glass selection and structural planning should happen together. The goal is not simply to choose a thicker or heavier panel, but to make sure the entire enclosure is designed around its actual dimensions and support requirements.
3. Choose Hardware and Door Configuration
Once the glass and structural requirements are established, hardware and door configuration can be coordinated with the bathroom layout. These decisions affect both the enclosure's appearance and how it functions in the finished space.
Pivot Doors vs. Sliding Systems
Pivot doors are a common choice for frameless showers because they provide a clean, open appearance with minimal visible framing. Depending on the configuration and hardware, the door may swing in one direction or accommodate specific clearance requirements.
Sliding glass systems can be useful when a swinging door would interfere with a vanity, bathtub, toilet, or other nearby fixture. Header-supported systems can provide a contemporary appearance while allowing the door to operate within a more limited footprint.
The decision should be based on the actual bathroom layout rather than appearance alone. Door clearance, adjacent fixtures, enclosure size, and user access all need to be considered before the hardware is finalized.
Coordinate Hardware With the Glass
Hardware selection should happen early enough to coordinate with the glass design. Hinges, handles, clips, and other components can affect glass dimensions and the location of required cutouts.
Hardware finish should also be considered alongside the bathroom's other metal finishes. Matching or intentionally contrasting the shower hardware with faucets, lighting, and accessories can help create a more cohesive design.
Because many glass components are fabricated specifically for the project, last-minute hardware changes can create unnecessary complications. Finalizing these details before fabrication helps keep the glass and hardware specifications aligned.
Minimize Visible Metal Without Sacrificing Performance
The frameless aesthetic comes from reducing the amount of visible framing around the glass, not from eliminating every piece of metal or sealing component. Properly selected clips, sweeps, strike components, and silicone detailing still play important roles in the finished enclosure.
The objective is to keep these functional elements visually restrained while maintaining the performance and usability expected from a custom shower.
4. Coordinate Measurements With the Finished Bathroom
Accurate measurement is one of the most important steps in custom glass fabrication. A frameless enclosure is made to fit the actual opening, so measurements based on unfinished or assumed dimensions can create problems later.
Measure After Finished Conditions Are Established
Final glass measurements should generally be taken after the relevant tile, stone, and finished wall surfaces are in place. These materials can change the actual opening dimensions compared with the rough framing measurements.
Even relatively small variations can affect the fit of a custom glass panel. Out-of-plumb walls, uneven surfaces, and changes in tile thickness can all influence the final dimensions.
For that reason, the glass team should have an opportunity to evaluate the completed opening before fabrication begins.
Avoid Designing Around Assumed Dimensions
Architectural drawings are essential for planning, but they do not always represent the exact conditions found in the finished bathroom. Framing, waterproofing, tile, stone, and other trades can introduce small dimensional changes during construction.
Using the final opening as the basis for fabrication helps account for those real-world conditions. It also gives the installer an opportunity to identify potential conflicts before the glass arrives on site.
Coordinate Glass Cutouts and Hardware Locations
Handles, clips, hinges, and other hardware should be coordinated before the glass is fabricated and tempered. Their locations need to correspond with the final enclosure design and surrounding bathroom features.
This is especially important when the glass includes custom cutouts or other fabrication requirements. Confirming these details in advance helps prevent a situation where finished glass does not accommodate the selected hardware.
5. Work With the Glass Fabricator Before Installation
A frameless shower enclosure is a custom component of the bathroom, so coordination between the design and glass teams should begin well before installation day.
Early collaboration gives the fabricator an opportunity to review the enclosure configuration, glass specifications, hardware selections, and anticipated site conditions. It also gives the builder a chance to identify structural or scheduling requirements before they become difficult to address.
For complex projects, the glass professional can help coordinate details such as panel configurations, door locations, hardware placement, glass type, and measurement timing. The earlier these decisions are established, the easier it is for the framing, tile, and glass trades to work from compatible information.
The final measurement should still reflect the actual finished conditions rather than relying solely on early drawings. Once the opening is ready, the glass team can verify dimensions and account for conditions that could not be confirmed during the design phase.
This process is especially valuable on high-end projects where custom stone, specialty tile, oversized glass, or unusual enclosure configurations leave little room for field adjustments.
Frequently Asked Questions
How high should a frameless shower door be?
Many custom frameless shower doors fall within a range of approximately 72 to 84 inches, although the appropriate height depends on the enclosure design, ceiling height, glass configuration, and project requirements. Steam showers and other specialized designs may require different configurations.
Can frameless glass be installed on an out-of-plumb wall?
Minor wall irregularities can sometimes be accommodated through appropriate installation techniques and hardware. However, establishing walls that are properly aligned during construction generally makes custom glass measurement and installation more straightforward.
Is 1/2-inch glass better than 3/8-inch glass?
Not necessarily. Both thicknesses can be appropriate depending on the enclosure's size, configuration, hardware, and design requirements, so the glass specification should be based on the specific project rather than thickness alone.
Secure Your Next Custom Glass Specification
A successful frameless shower starts long before the glass reaches the jobsite. By coordinating glass thickness, wall reinforcement, hardware, finished dimensions, and fabrication requirements early, builders and design professionals can create an enclosure that fits the bathroom as precisely as the rest of the project.
Planning a custom bathroom with complex glass requirements? Work with A-Ability Glass, an experienced glass fabricator, to review your enclosure design, glass options, hardware, and measurement requirements before construction reaches the finish stage.